
Credit Transfers
A credit transfer is an instruction to send funds from a source account to a destination account.
Send single or batch credit transfers directly from Atlar.
The Credit Transfers tab gives a complete overview of all payments—whether created manually, via API, or through a third-party system such as your ERP.
Overview Features
From this tab you can:
- Filter by date, currency, counterparty, remittance information, and more
- Customize visible columns using the cogwheel in the top-right corner
- Create a new credit transfer or import multiple transfers at once
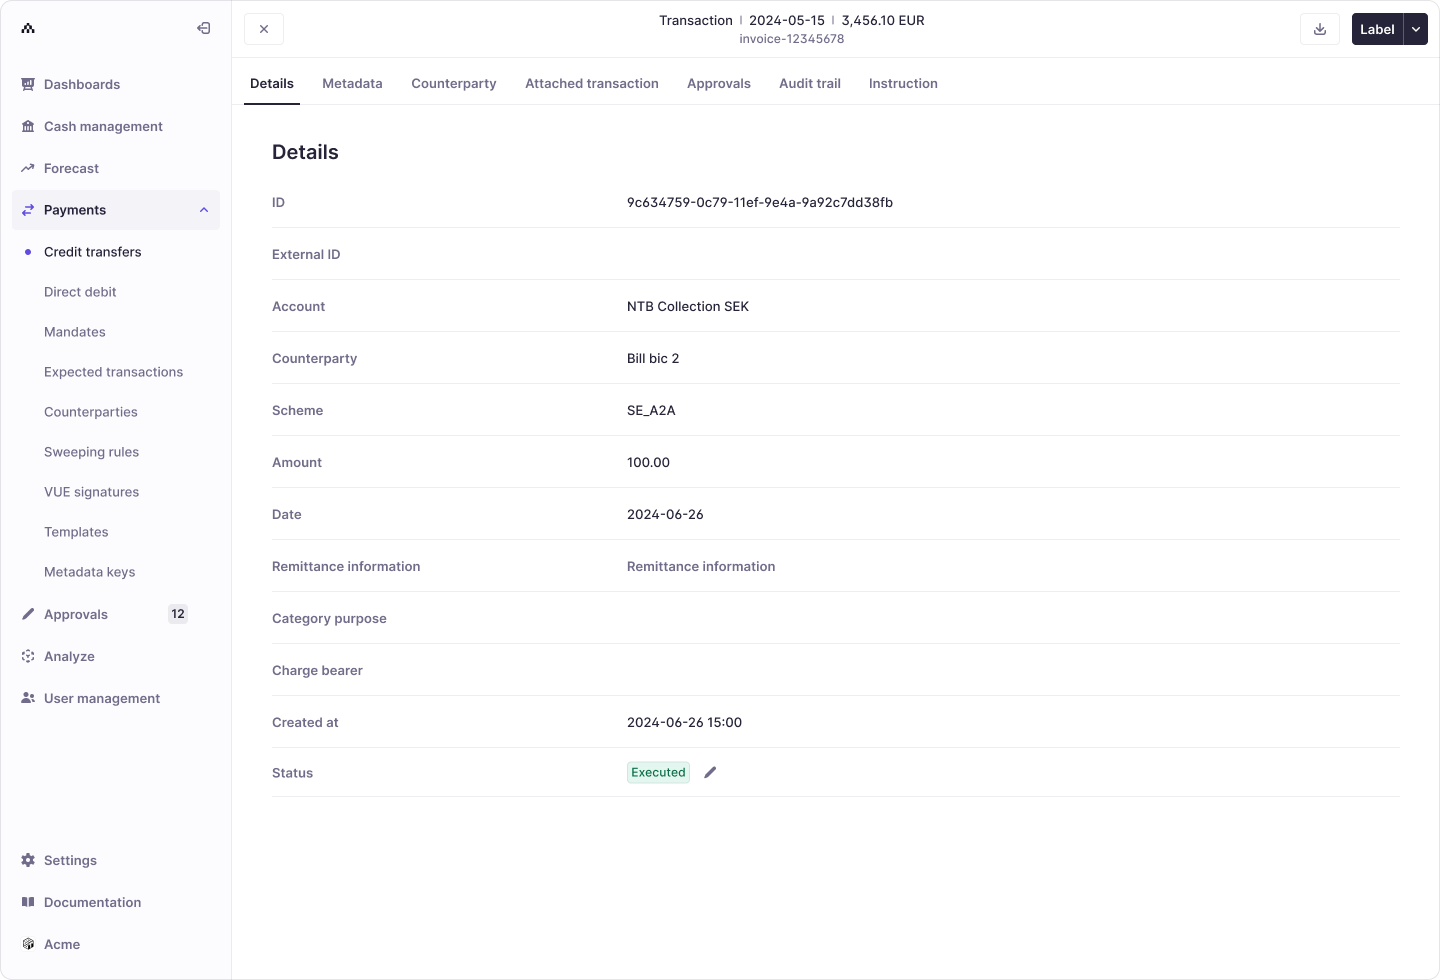
Viewing Credit Transfer Details
Double-click a credit transfer to open its detail view, which includes:
- Details – Payment ID, source account, counterparty, payment scheme, and more
- Metadata – Custom fields to tag or categorize payments (e.g., required comments)
- Counterparty – The recipient of the payment
- Attached transaction – The matched transaction from your account statement
- Approval chains – Who approved the payment and in what order
- Audit trail – Timeline of creation, edits, approvals, and status changes
- Connection instruction – The technical message sent to the third party (e.g., your banking partner)
Creating a Credit Transfer
Once your third-party connection and selected payment scheme are live, you can start sending payments.
Recommendation: Begin with penny tests to ensure everything is configured correctly.
What are penny tests?
Penny tests (or penny transfers) are low-value payment tests—typically €0.01 or €1.00—used to confirm that:
- Bank connections are working correctly
- Funds are successfully sent and received
- Payment scheme configuration is correct
- Reference information and reconciliation behave as expected
Steps to Create
- Navigate to Payments → Credit Transfers
- Click Actions → Create (top-right)
- Choose a creation method:
- From a template – Use a saved payment template
- Manual – Create a payment from scratch
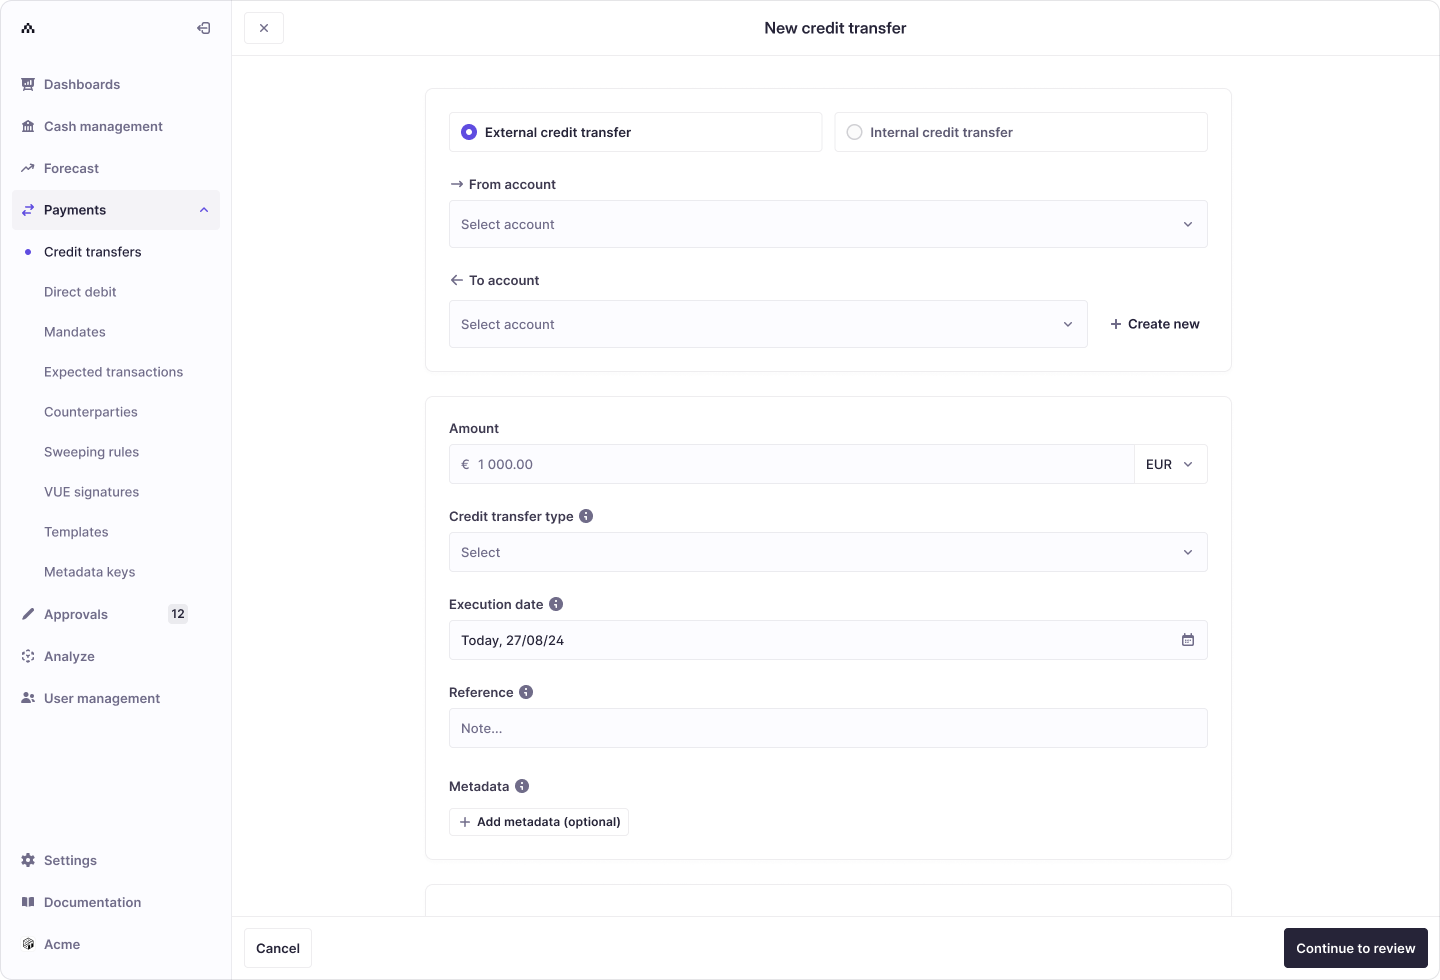
Manual Credit Transfer
Follow these steps to create a transfer manually:
- Choose transfer type
- Internal – Between two Atlar accounts
- External – From an Atlar account to an external one
- Set source and destination accounts
- From – Select a source account
- To – Choose an existing counterparty or create a new one:
- Click Create New
- Enter legal name and optional details
- Click Add Account and provide:
- Market
- Identifiers (e.g., IBAN, account number)
- Routing information (e.g., BIC)
- Enter payment details
- Amount and currency
- Reference
- Select a payment scheme
- (Optional) Add metadata keys to label or categorize the payment
- Configure advanced fields (optional)
- Category purpose – ISO 20022 purpose code (supported for
SCTandCROSS_BORDERschemes) - Charge bearer – Specifies who pays transaction fees
- Regulatory reporting – Add regulatory details if required
- Urgent payment – Marks the payment as urgent (may incur extra bank fees)
- Date – Requested payment execution date. It is a local date from the source account's point-of-view. Cannot be set to before the current date, and not more than 60 days into the future. This field is important to recognize that it takes in the schema's early notification requirements and other factors like holidays and business days into account.
- Category purpose – ISO 20022 purpose code (supported for
- Review & create – Click Continue, review all details, and click Create Credit Transfer
The payment is now created and ready for approval if your organization uses approval chains.
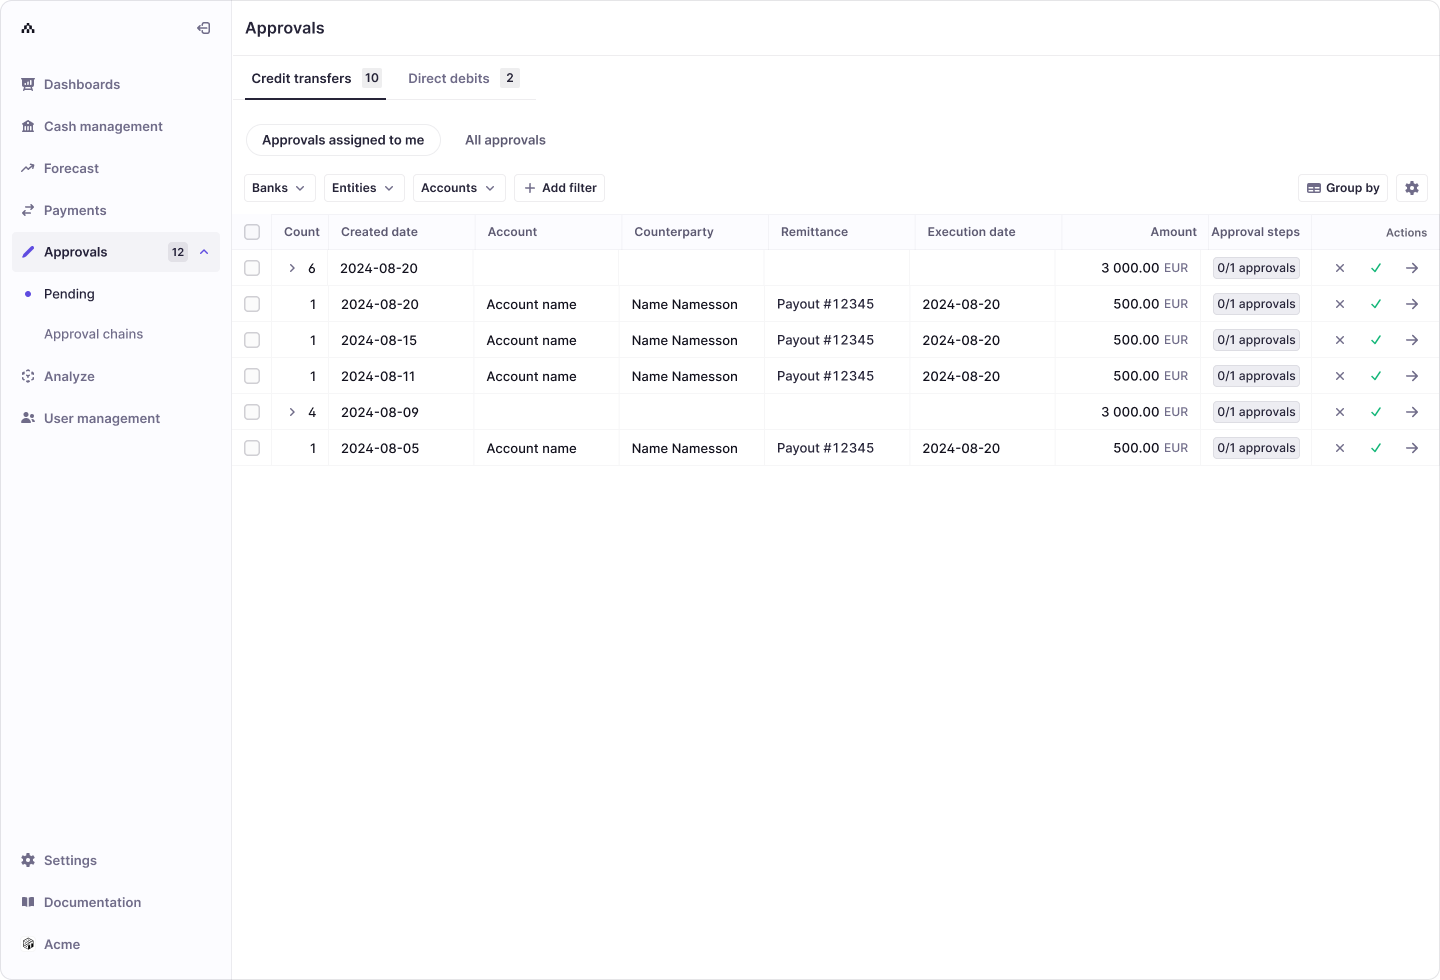
Approving a Credit Transfer
- Go to Approvals → Pending → Credit Transfers
- Select the transfers you want to approve (individually or in bulk)
- Click Approve
Permission note: The person who created the payment may not be allowed to approve it.
If you don’t have access, contact your organization owner or Delivery Manager.
Monitoring Payment Statuses
After approval, track credit transfers under Payments → Credit Transfers.
Key statuses include:
- Accepted – The bank has accepted the payment
- Executed – The payment has been processed by the bank
For a complete list of possible statuses and their meanings, see Payment Statuses.
Updated 8 months ago